Documentation
RpcNode Toolkit
Install the self-hosted panel, connect Ubuntu hosts with the agent, and provision full-history nodes from one UI. Pre-built JARs are on GitHub Releases.
Grab pre-built server, agent, and CDN JARs from GitHub Releases.
→Control planeInstall the panelRun the control plane with Docker on a machine you operate.
→HostsInstall the agentOne agent per Ubuntu host. Paste the Agent URL and token into the panel.
→OperationsAdd a nodePick a network, environment, and host — then follow the setup wizard.
→SnapshotsSnapshot CDNSelf-host rpcnode-cdn.jar, or browse the public catalog at cdn.rpcnode.dev.
→CatalogNetwork guidesPer-chain client, environments, history policy, and sync path.
→DevelopAdd a networkIntake questionnaire, wiring checklist, site guide, and pull request.
→Download releases
Tagged releases publish ready-to-run artifacts — you do not need to compile Toolkit to get started:
rpcnode-server.jar— control panel APIrpcnode-agent.jar— host agent (install on each node server)rpcnode-cdn.jar— optional snapshot CDN sync
Download the latest build from github.com/rpcnode/toolkit/releases. Checksums ship beside the JARs when present.
Install the panel
The panel is the control plane. It does not run blockchain nodes. Prefer a release JAR from GitHub Releases, or build from the repo with Docker Engine and Compose v2.
git clone https://github.com/rpcnode/toolkit
cd toolkit
./scripts/install-panel.sh
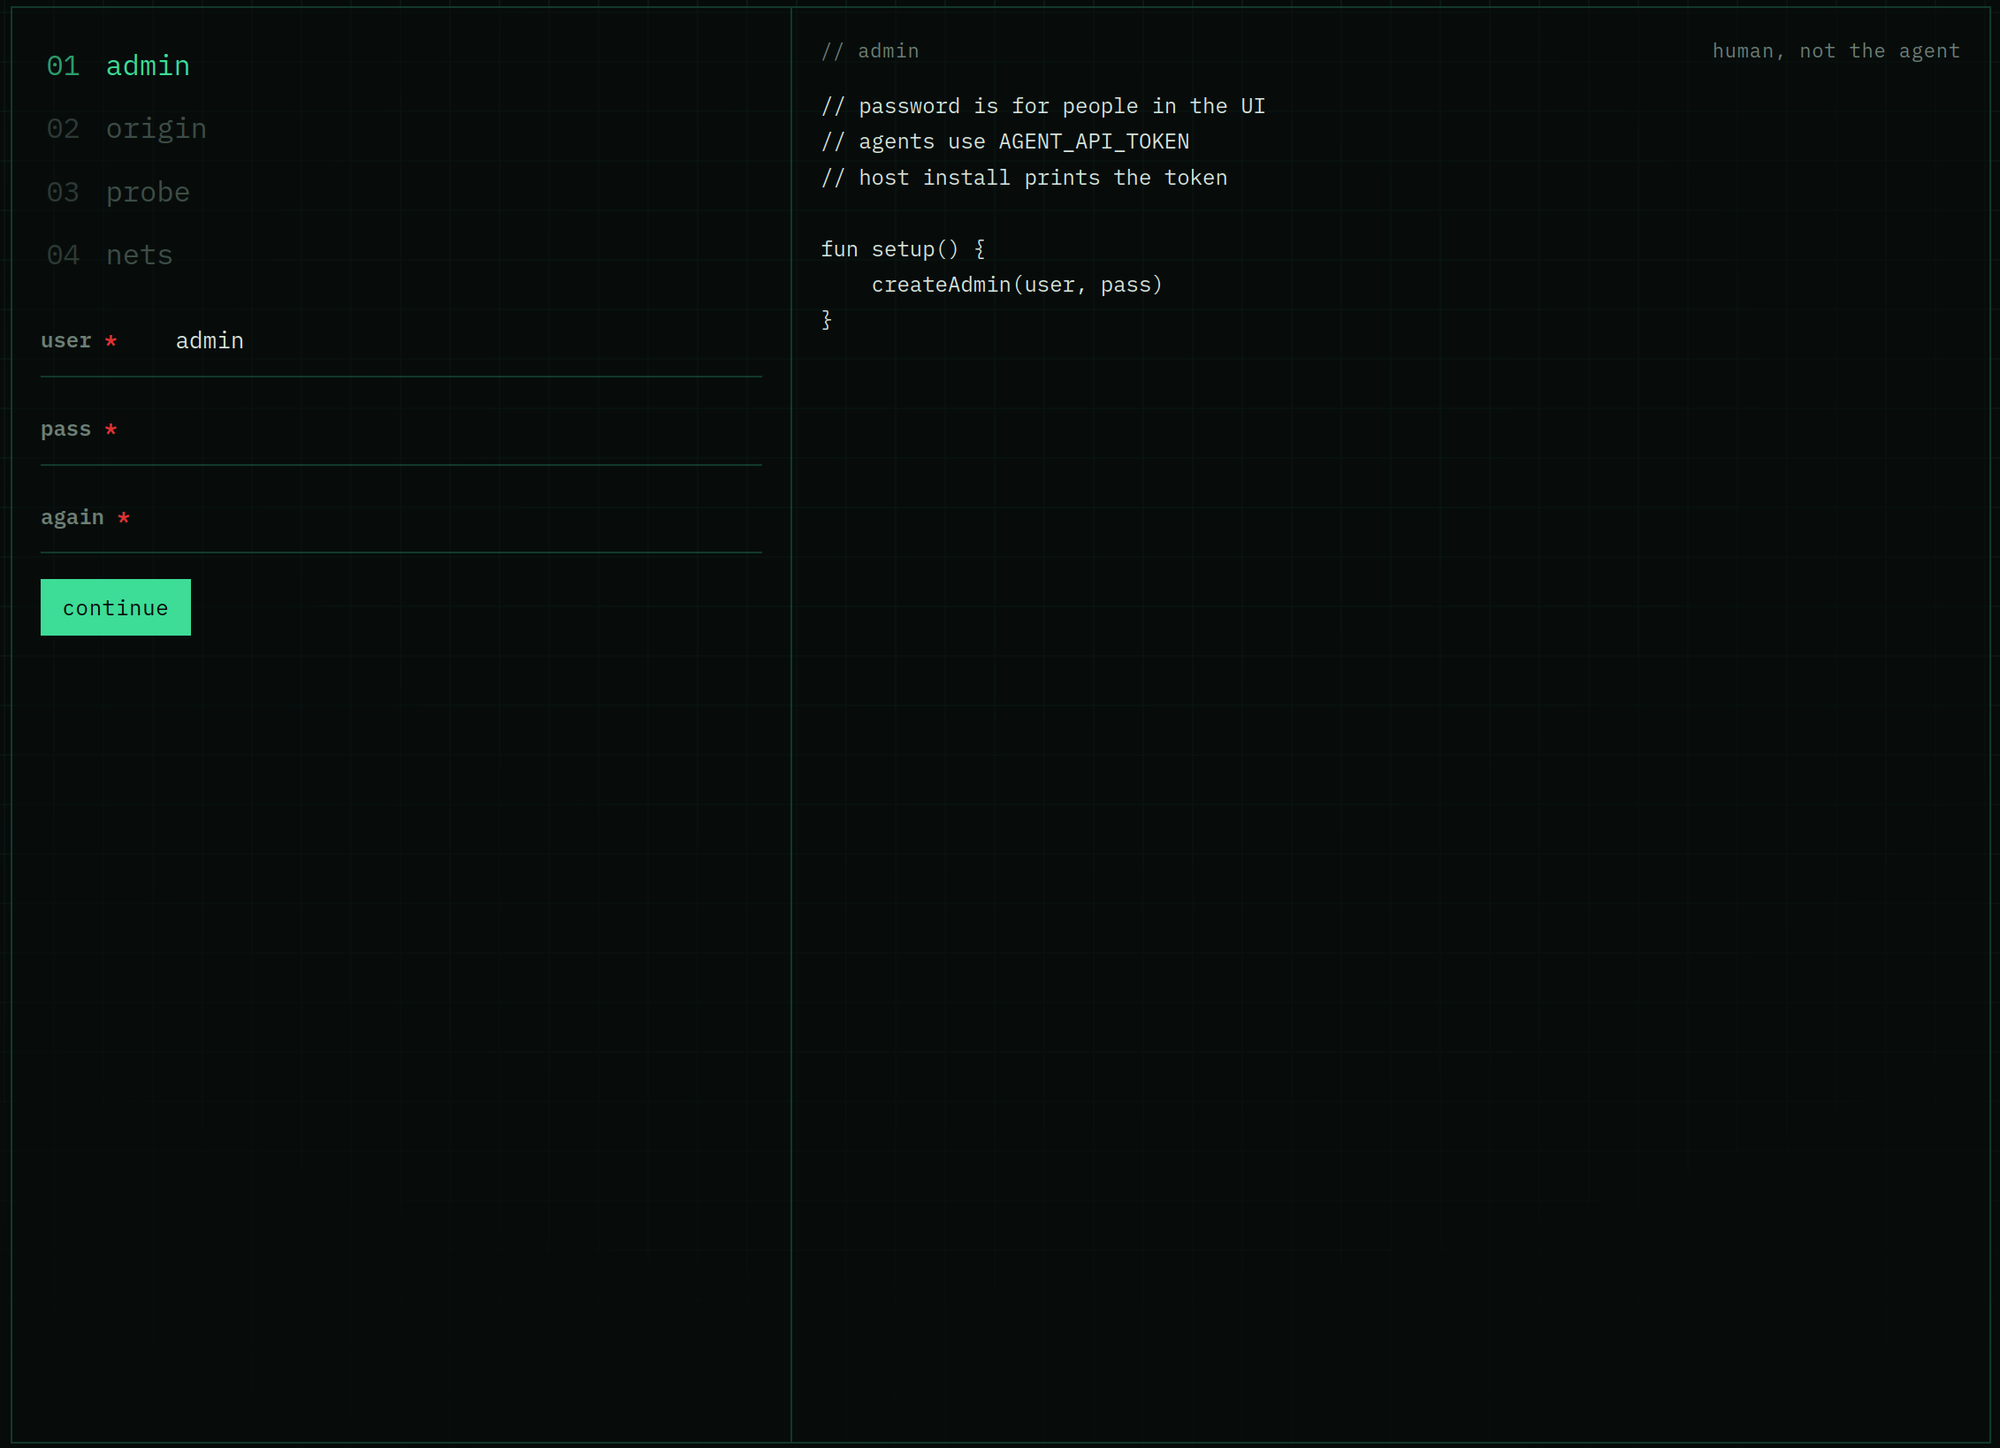
Open http://127.0.0.1:8093/setup and complete the first-run wizard (admin account, install origin, links). The image rpcnode-panel:local is built from the repo — do not docker compose pull.
Update / remove
./scripts/update-panel.sh
./scripts/uninstall-panel.sh          # keeps panel.db
./scripts/uninstall-panel.sh --wipe   # also drops panel data
Data lives in database/panel.db on the host. Default UI port is 8093.
Install the agent
Each blockchain server needs one host agent. Agents and install scripts are served from your panel install origin — not a shared public URL. Build them on the control host, then run the installer on each node server.
1. Build install scripts
./scripts/build-agent-binaries.shThis writes public/install/agent.sh, update/uninstall scripts, and agent binaries. The panel Docker stack serves /install/* from that tree.
2. Set install origin
In the panel: Settings → Install origin — scheme + host + port, without a trailing /install. Examples: http://127.0.0.1:8093 or http://203.0.113.1:8093 (firewall must allow the panel port from the node host).
3. Run on the node host
Ubuntu 24.04 LTS (amd64 or arm64). The script installs rpcnode-api-agent and rpcnode-system-agent, enables systemd, and prints an Agent URL plus AGENT_API_TOKEN. It does not provision a chain client and we never SSH into your box.
curl -fsSL "http://127.0.0.1:8093/install/agent.sh" | sudo bashSame machine as the panel: use 127.0.0.1 as above. Remote host: replace the host with your panel address, for example curl -fsSL "http://203.0.113.1:8093/install/agent.sh" | sudo bash.
Supported and recommended: Ubuntu 24.04 LTS (amd64 or arm64). Other operating systems have not been tested.
Update / uninstall agents
curl -fsSL "http://<panel-host>:8093/install/update-agents.sh" | sudo bash
curl -fsSL "http://<panel-host>:8093/install/uninstall-agents.sh" | sudo bash
Add a server
In the panel: Servers → Add server. Paste the tip Agent URL (agent API port, typically 38990 — not the public Go RPC port) and AGENT_API_TOKEN, then check the connection.
Add a node
After the agent is registered, everything else is the NODE SETUP wizard on the node page. You do not SSH to install the chain client. Keep the page open or reopen it — the agent keeps working.
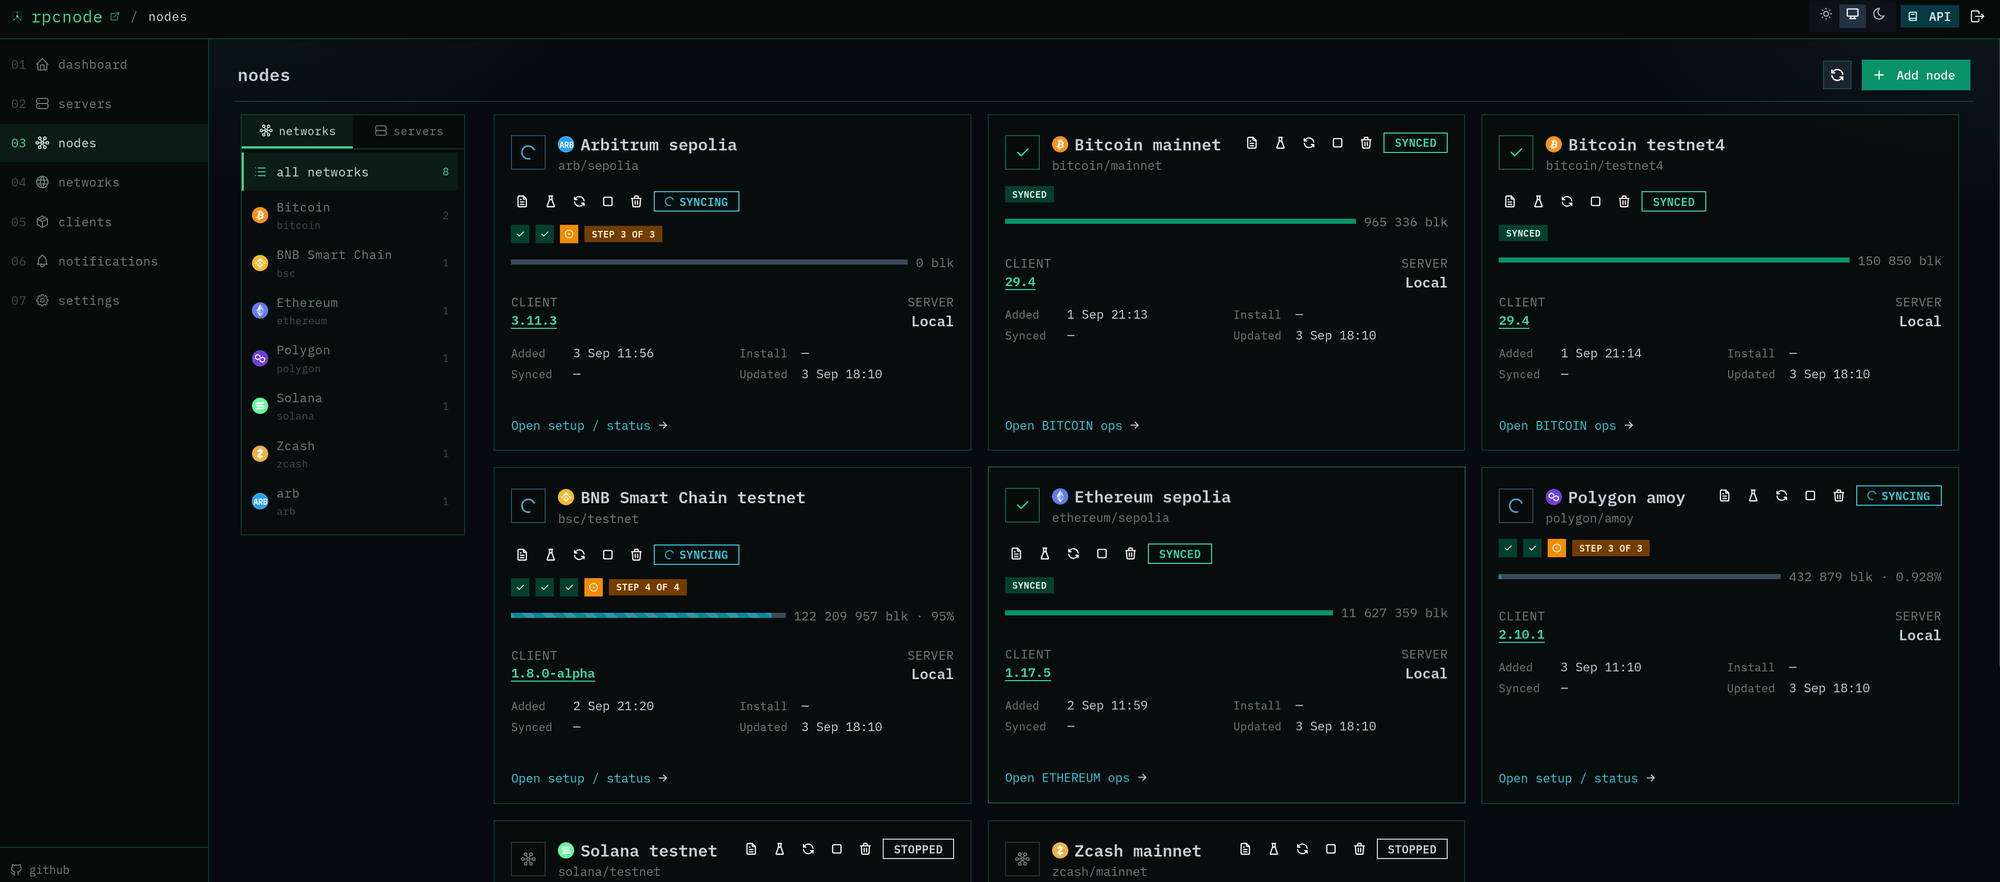
- Add node — network → environment → that server. One network+env per host. Pick install options when the chain has them (TRON snapshot flavor, XRPL history, Solana disk layout).
- Check ports — fixed catalog ports (Go RPC, Node Agent, P2P). The panel dials the public IP. The agent does not open the firewall.
- Install — downloads the catalog client and writes units + conf. This means host work started — not “node is synced”.
- Snapshot — only if the chain ships an official snap (TRON, Cardano Mithril, Sui, …). Bitcoin and other IBD chains skip this step.
- Start / sync — launch and catch up. Long bootstrap steps (for example TON MyTonCtrl) can sit on the same log line for a long time; that is progress, not a hang.
- Healthy — Synced means live tip and history proof. Host & node metrics and Fullnode Go RPC load stay on the node page.
Another chain on the same host: run Add node again — you do not reinstall the agent.
Snapshot CDN
Some networks bootstrap faster from snapshot archives. Toolkit can pull those archives during the Snapshot step of NODE SETUP. You have two options:
- Public CDN — browse and use the published catalog at cdn.rpcnode.dev.
- Your own CDN — build
rpcnode-cdn.jar, install it on a dedicated host, pick mirrors in its menu, and serve/snapshots/*(nginx + optionalcdn-siteUI) from your disk. Point your panel/agents at that origin when you want private or regional mirrors.
./scripts/build-rpcnode-cdn.sh 0
sudo java -jar rpcnode-cdn.jar install
sudo java -jar /opt/rpcnode/lib/rpcnode-cdn.jar menu
sudo systemctl restart rpcnode-cdn
IBD-only chains (for example Bitcoin) skip Snapshot entirely. CDN hosting is optional — it does not replace the panel or the host agent.
Network guides
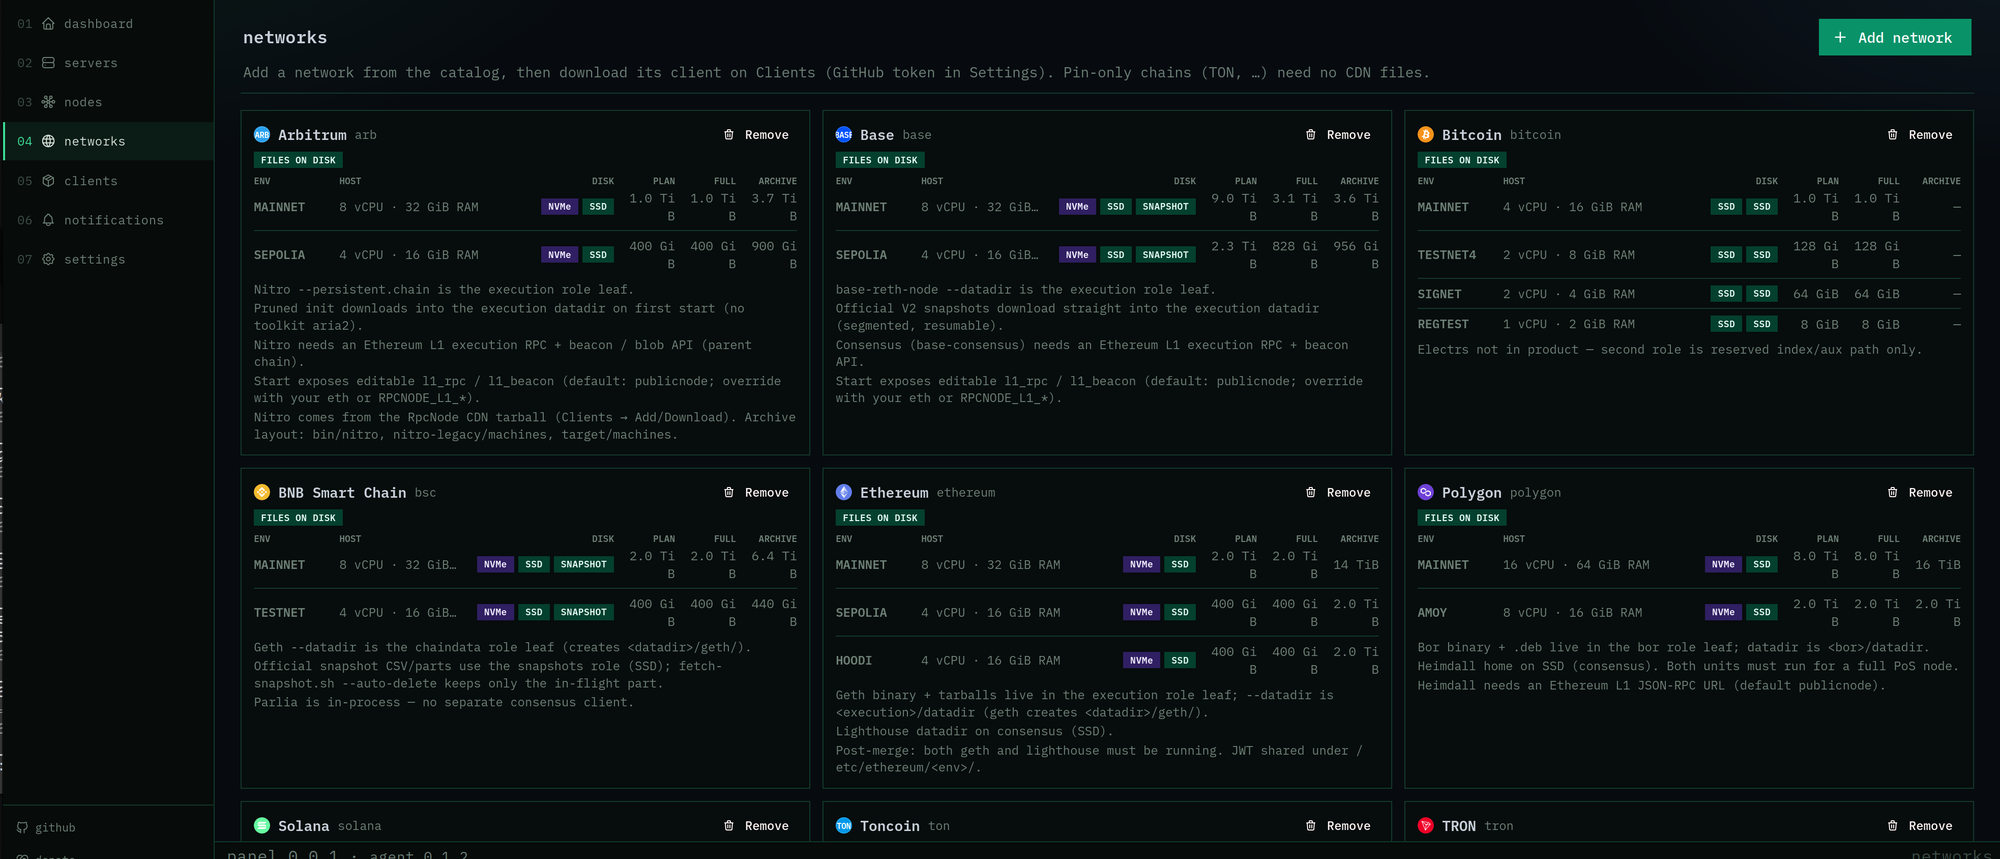
Every supported chain has a guide with its client, environments, history policy, and sync path. Read it before provisioning.
Browse network guides →Add a network (developers)
A new chain is a profile in the existing agent — not a separate installer and not a shared when (network) monolith. Implementation lives under one package per network in the Toolkit repository. Keep the same stable network id in the panel catalog and on this site.
1. Fill the intake questionnaire first
Do not invent YAML or Kotlin until the intake is written and reviewed. Copy the template, answer every section, and mark status approved before coding.
- Clone github.com/rpcnode/toolkit.
- Copy
app/docs/adding-a-network-intake.md→app/docs/networks/<id>-intake.md(example: bitcoin-intake.md). - Answer product scope, environments, artifacts, ports, disks, client config, snapshot policy, start/proc, local height, public tip, lifecycle, install options, and open risks.
- Prefer GitHub/CDN release artifacts in
clients.yml. Do not use Docker as the install path. - Sync must be verifiable: a responding RPC port is not enough — tip + history proof before
active.
2. Implement the wiring checklist
After intake approval, follow section 14. Wiring checklist in the intake doc. Reference implementations: TRON (chains/tron) and Bitcoin (chains/bitcoin).
- Resources under
app/src/main/resources/chains/<id>/:network.yml,clients.yml,node.service.tmpl(required), plus extra templates if needed. Capacity knobs (connections, RPC pools,LimitNOFILE, …) belong inclientConfig.bindingsand must actually be written into conf / flags / unit. - Kotlin package under
…/chains/<id>/(never undersrc/agent):<Id>NodeStart,<Id>NodeProcessStarter,<Id>NodeHeightProbe, optional tip / release / snapshot resolvers. - Ids: add
NetworkId(and newEnvIdvals only when needed). Layout stays under node_dir — no/opt/<chain>or/etc/<chain>(systemd unit via shared host support is fine). - Wiring: map release / tip / start (+ snapshot) in
Toolkit.production(); agentChainNodeRuntimemap inAgentMain(proc + height). - Tests: facts / routes id lists, start plan, height/tip parse. Admin stays YAML-driven; special-case UI helpers only when unavoidable.
Use NetworkPinOnly only when there is no public tarball/deb/binary URL. Prefer release assets even when upstream also ships a container image.
3. Local verify
cd app
./gradlew test agentTest
# Run the panel from IntelliJ (do not ./gradlew run against a live :8093 you did not start).
# Add network → add node on a test host → Check ports → Install → Snapshot (if any) → Start → tip + history.
4. Public guide on this site
Operators read /networks/. After the Toolkit profile works, add the same id here:
- Edit
src/data/networks.ts: id, name, aliases, client, rpc, envs, history, official docs URL, keywords, lead, about paragraphs. - Run
npm run buildto prerender/networks/<id>/and refresh the sitemap. - Site PR can land with the Toolkit PR or immediately after — same network id in both places.
Open a pull request
One network = one focused PR against rpcnode/toolkit. Include the intake doc and the wiring — reviewers should not reverse-engineer chain rules from the diff alone.
- Fork (or push a branch), create
network/<id>from the latestmaster. - Commit intake first (or in the same PR):
app/docs/networks/<id>-intake.mdwith section 0 status and review table filled. - Commit resources + Kotlin + tests. Keep the diff scoped to that network — no drive-by refactors.
- Open the PR. Title like
Add <Network> full node profile. - In the PR body, summarize: why the chain, MVP vs later, artifact source (no Docker install), snapshot policy, how local height and public tip are proven, host constraints (
oneEnvPerHost?), and test evidence (commands + what you verified on a host). - Link the intake file and call out open risks from section 15. If the public site guide is ready, link that PR too.
- Respond to review: intake Needs change items before more code churn. Do not merge until tests pass and sync proof is credible.
## Summary
- Add <id> network profile (install, start, height/tip, …)
- Intake: app/docs/networks/<id>-intake.md

## Test plan
- [ ] ./gradlew test agentTest
- [ ] Panel: Add network / Add node wizard through Healthy
- [ ] Local height + public tip match expected protocol
- [ ] (Optional) toolkit-site networks.ts + npm run build
Questions before a large intake: Toolkit Telegram or an issue on GitHub.
Contribute
Source, issues, and network proposals: GitHub. Architecture notes live in the repo (ARCHITECTURE.md). Questions: Toolkit Telegram group.